Today we’re going to learn how to draw a pencil. “Another one” you might say, because in this post we ALSO drew a pencil, but today we’re going to take it up a notch.
The first one we did, was a REALLY simple one, and this time around we’re going to add a few things, which will make it a little more challenging, and a lot more interesting. We’re still dealing with relatively simple stuff here, so don’t worry. You’ll absolutely be able to nail this one! 🙂
But hopefully you’ll also be able to see that even a simple drawing like this one, can present some nice opportunities for learning. We’ll be dealing with some perspective, foreshortening, and construction. These are all concepts, that you should get familiar with in order to tackle bigger and more advanced drawings down the line. But starting out with a simple drawing like this one is a great chance to get your feet wet…
The perspective aspect is the primary difference between the previous tutorial, which was two-dimensional, and thus looked completely flat on the page, and the one we’re doing today. Perspective adds a third dimension to your drawing, It provides a level of depth. In fact, really well done perspective can make a drawing look three-dimensional.
Now… Perspective is a huge area, and one that can be very complicated. But fear not… Today we’re keeping it simple! We’re just working with what I call approximated perspective. What I mean by this, is that we’re not going to be dealing with vanishing points, and calculating every line accordingly (a key concept in perspective drawing). We’re just adding a measure of foreshortening, to give the sense of perspective. This dramatically enhances the drawing, and makes it a lot more interesting to the eye. Approximated perspective works very well for simple drawings, like this one. But if you’re doing something more complex, with more items, you might have to go a little more in depth with accurate perspective. But that’s a topic for a different day.
I mentioned foreshortening, and If you don’t know what that is, here’s the definition: to reduce or distort (parts of a represented object that are not parallel to the picture plane) in order to convey the illusion of three-dimensional space as perceived by the human eye: often done according to the rules of perspective. To abridge, reduce, or contract; make shorter.
As is often the case, definitions can make things a little confusing, but look at the picture below. Both of these fairs are actually perfect circles. The one on the right is viewed (almost) at a 90 degree angle, and thus looks like a circle. The one on the left is viewed at a much sharper angle, and therefore appears as an oval, this is foreshortening in a nutshell. And in drawing we use this deliberately to create a sense of depth.

So in simple terms, relating to our drawing for today, foreshortening basically means that one end of the pencil is drawn smaller than the other end to make it appear as if it is further away… Easy, right?!? 😉
But, enough yapping on my part… Let’s get down to business!
I’d like to point out, that I think it’s a good idea to look over the whole process before beginning your actual drawing, or at least look a couple of steps ahead to get a sense of cohesiveness. And I really want to stress the fact, that the way I describe the process, is merely my suggestion, and what makes sense to me. If you find that doing step six before step five makes more sense to you, then I absolutely encourage you to do so!
And, as always, remember to draw lightly in the beginning. Enjoy!
And… You’ll find the video at the bottom of the post. 🙂
Step one:
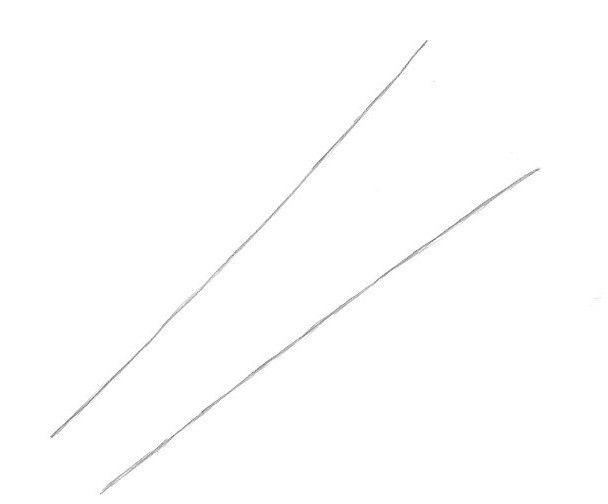
Start by drawing two lines.
They should be about the same length, very slightly curvy, and diverging.
The bottom end will represent the far end of the pencil, and the top will be the nearest end. (This is the basis for the forshortening, that I mentioned previously)
Step Two:
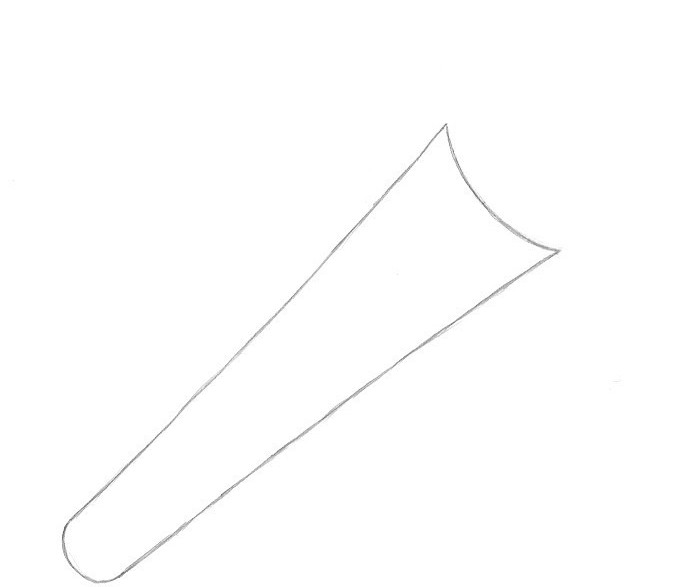
Connect the two lines in both ends with curvy lines.
Notice that the line in the far end (the lowest one in the picture) is a little more curvy than the other one. This again goes back to the previous mentioned foreshortening. The further away, the more dramatic the foreshortening will be.
Step Three:
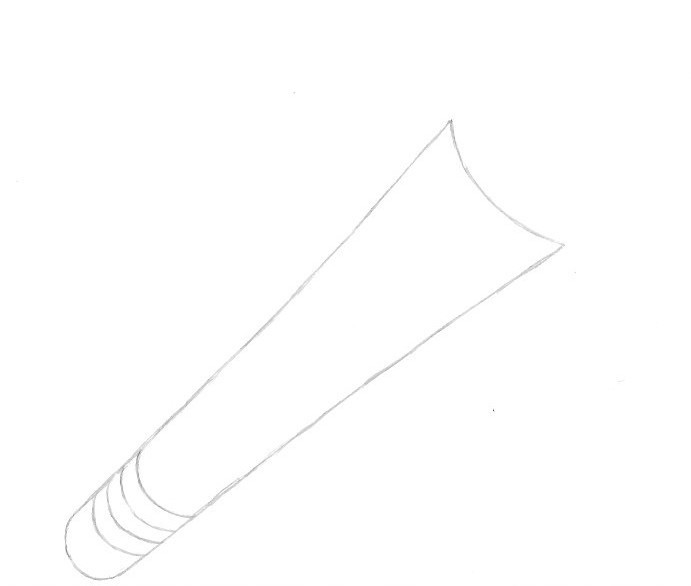
In the far end (still the bottom) you now add three more curvy lines matching the bottom line.
In the end these will become the metal part that holds the eraser.
Step Four:
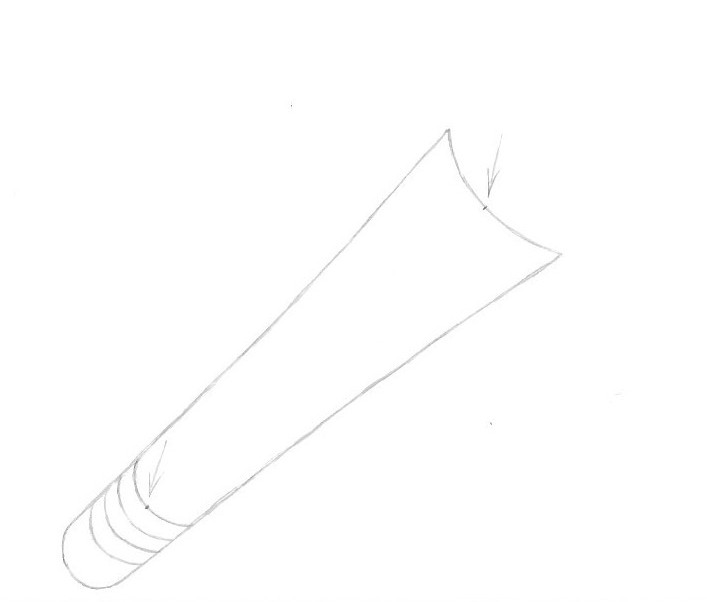
Add two small guide dots on the middle of the curvy lines.
You can use a ruler for accuracy if you want, but it’s not necessary. Personally I just eyeballed it, and that works fine, as we’re just doing approximated perspective, as I mentioned in the beginning.
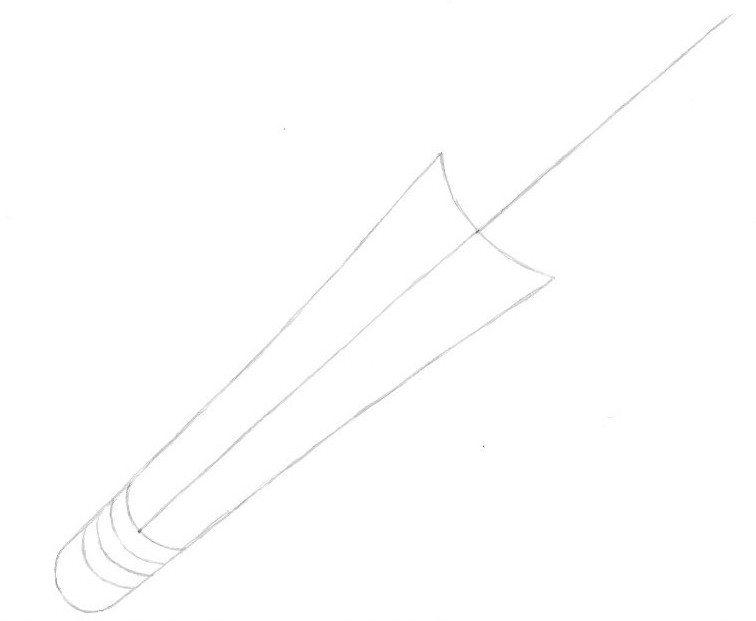
Step Five:
Now, using your two guide dots for accuracy, draw a straight line from the bottom dot, all the way through the pencil, and protruding out.
You’d rather make this a little too long than a little too short, as you can always erase the extra part. You’ll be erasing the top part of it anyway…
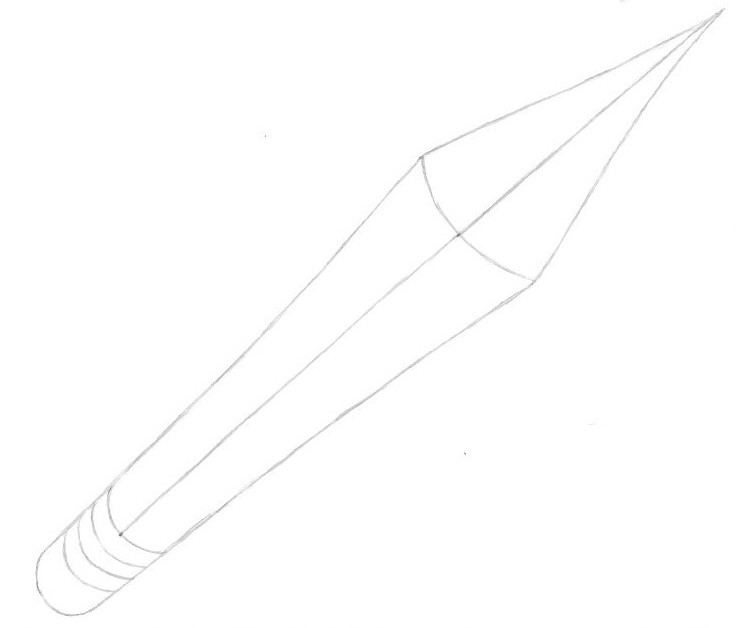
Step Six:
Using your guideline, you now draw the pointy end of the pencil.
As you can see, I’ve exaggerated a bit, and drawn it quite large. This again, is to enhance the foreshortening, and make the perspective feel clearer. You can of course adjust this as you wish!
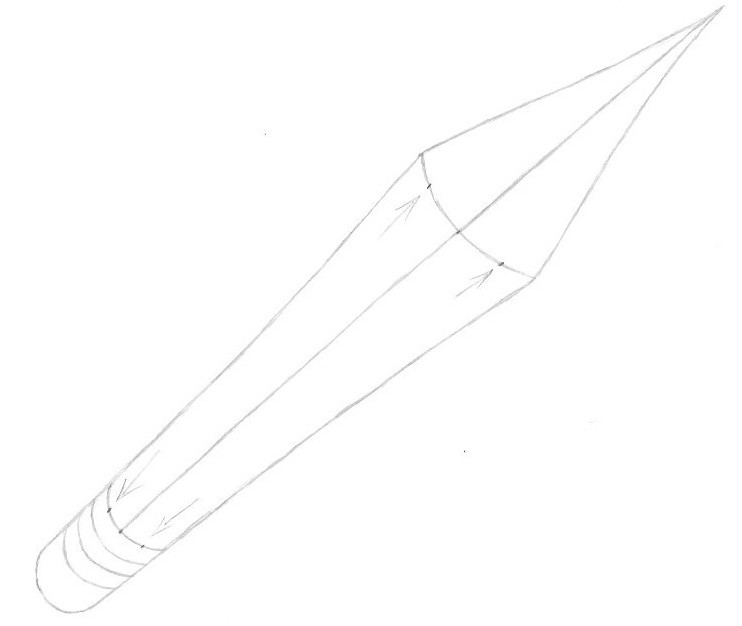
Step Seven:
More guide dots. The arrows point the way! 😉
If you notice, the two dots in the bottom are on the middle of their respective lines, whereas the two in the top, are a little off center. This is to underline the foreshortening, and enhance the sense of perspective.
And again I’m just eyeballing this. Finding the center of a short line, as is the case here, is relatively easy. But by all means feel free to use your favourite measuring device to make it more accurate, if you feel so inclined… 😉
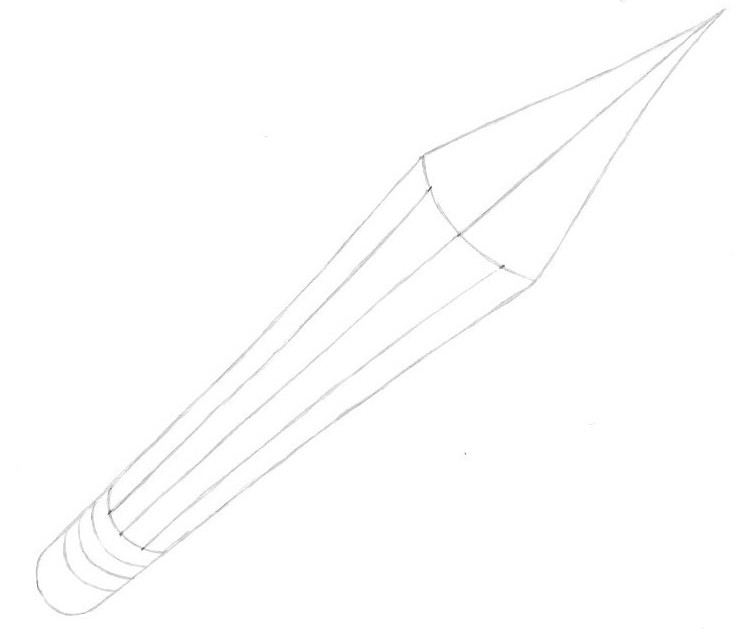
Step eight:
Now connect the dots from the bottom to the top, thus dividing the pencil in five (almost) equal sized areas.
Notice that I am again curving the lines a little, another small trick to enhance the sense of perspective.
Step Nine:
This step is twofold:
Firstly you add a second curvy line on the tip of the pencil. This is just a guideline, so make sure to draw it lightly.
Secondly you add two more guide dots where the arrows point. Notice that these are relatively close to the middle line. (You might want to take a look at the next step to get an idea of what all this is for… 😉 )
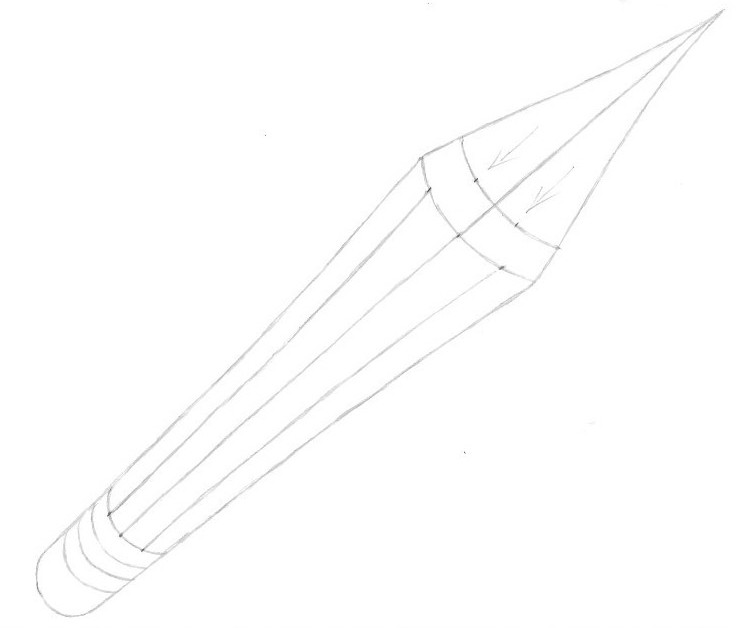
Step Ten:
Using the two curvy lines, their respective guide dots, and the edges of the pencil, draw these small arc-like shapes as shown below.
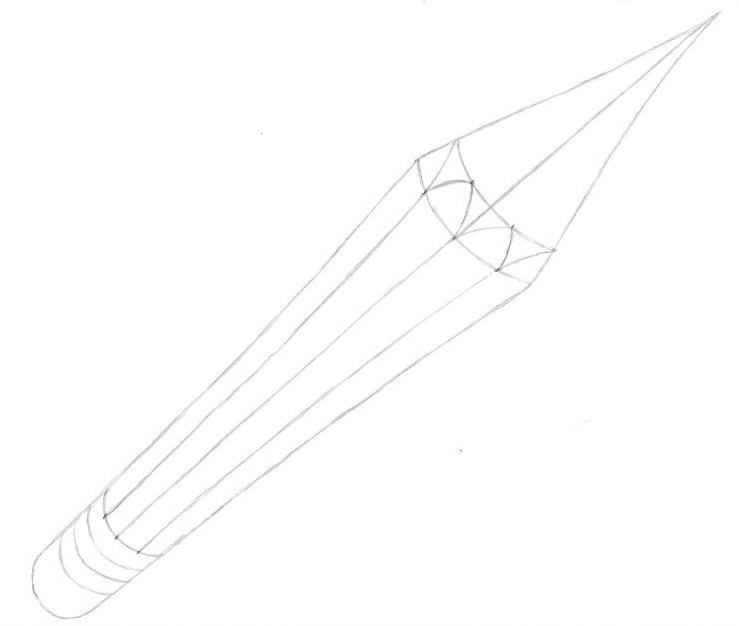
Step Eleven:
Now erase all the guidelines, and -dots, and you’re left with this. This should be the pattern that comes out when you use a pencil sharpener.
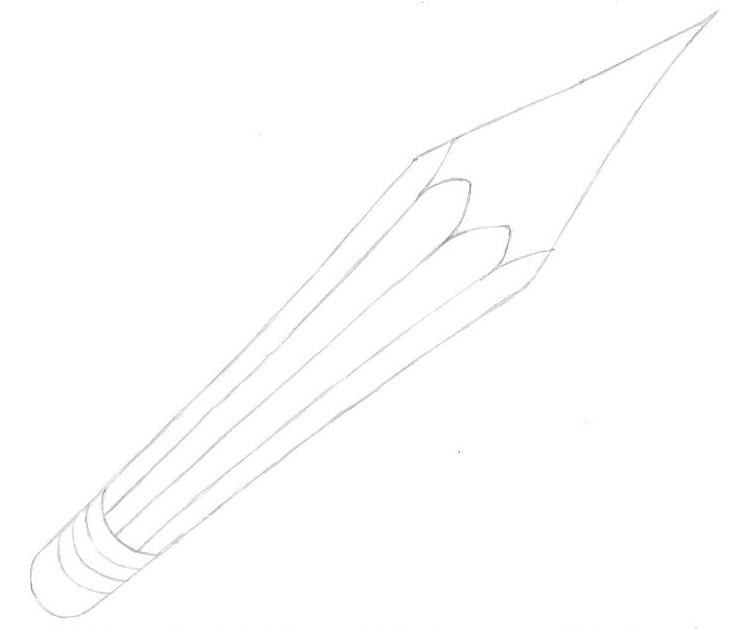
Step Twelve:
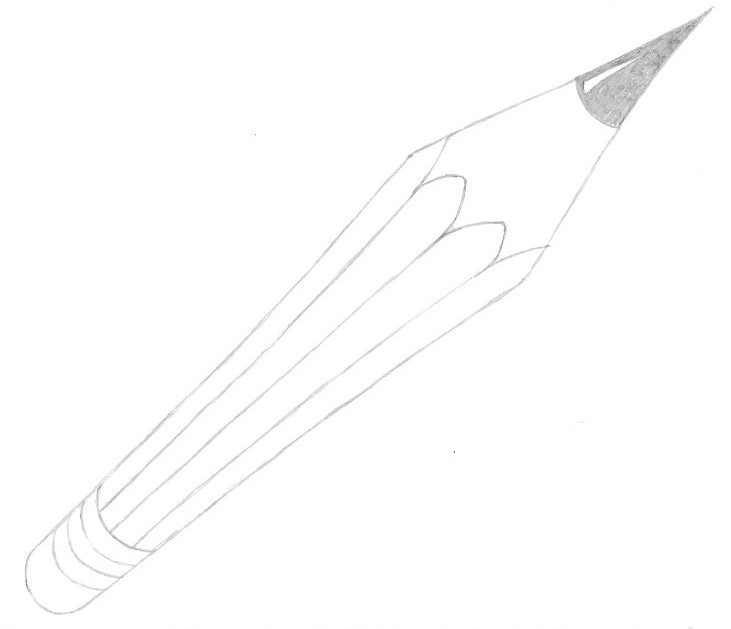
Draw another curvy line close to the pointy end of the pencil, marking where the graphite comes out of the wooden part.
For effect, you can add a small highlight to the graphite, as shown below.
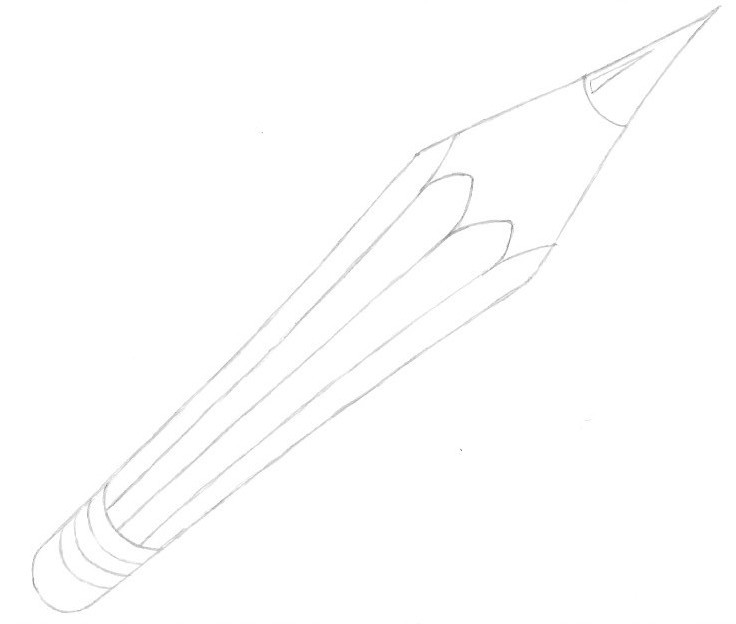
Step Thirteen:
Darken the graphite, leaving the highlight.
As you may notice, I didn’t make it super dark yet. I personally find that it works best to go over it a couple of times, instead of going really hard once.
Step Fourteen:
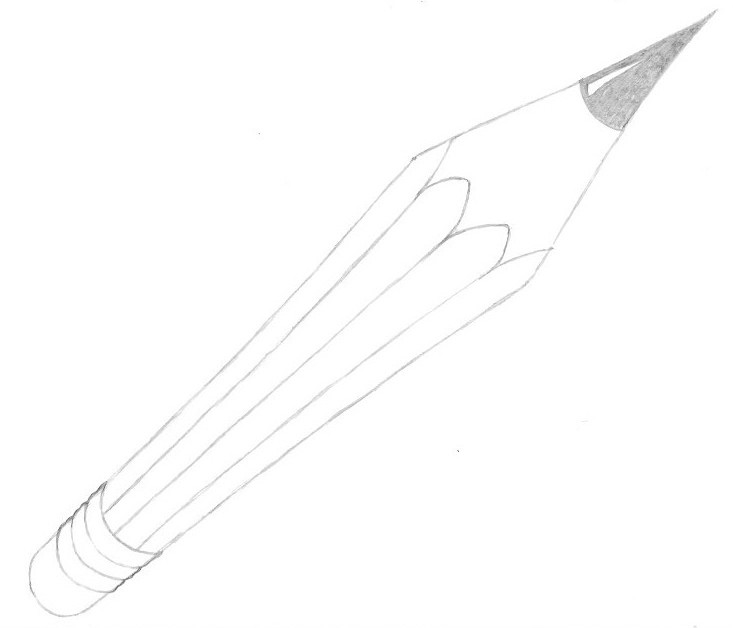
Now turn your attention to the bottom part of the pencil.
The three lines at the bottom represent the metal that is on some pencils which hold the eraser in place.
I am going over the edges here, to give it a little more structure. This will enhance the sensation of it being something that sits on the pencil.
Step Fifteen:
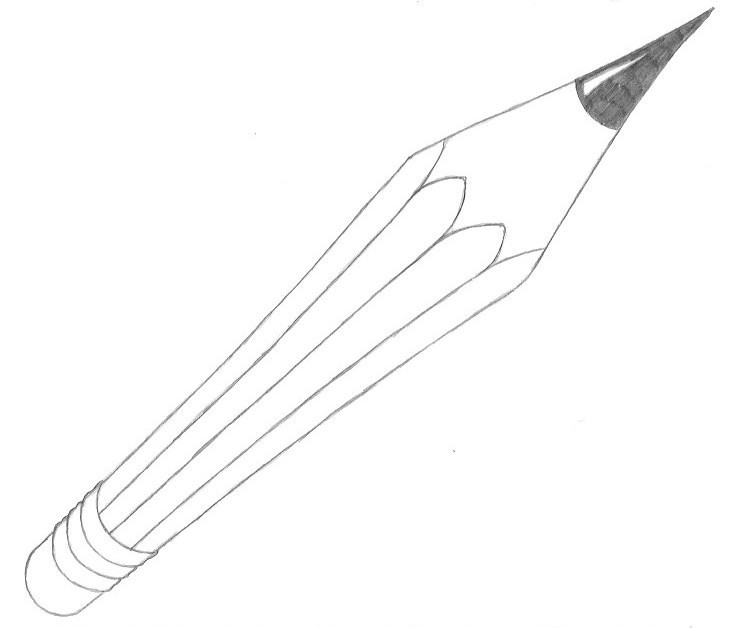
At this point I like to just go over all my lines, and sharpen, clean up and darken them all.
I also go over the tip again, as mentioned earlier, to make it darker.
Step Sixteen:
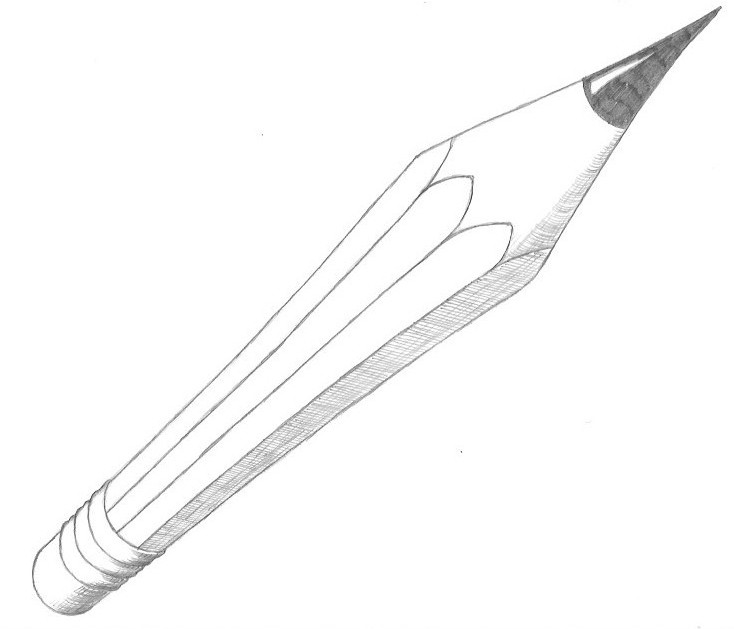
Some shading always adds a nice touch.
Notice that on the longest part of the pencil, it’s supposed to be flat areas next to each other, so the lines I used for the shading are straight. At the tip of the pencil it’s supposed to be rounded, so the lines are curvy. This is one of the basic rules for shading, that I always stick to: Follow the shape of the object you’re shading!
Now, if you’re sticking with a pencil drawing, you can end it here! I personally love pencil drawings.
If you want to take it a bit further, and add ink and/or colour, go on to the next couple of steps. 😉
Step Seventeen:
Outline your drawing in ink.
As you may notice, I have erased the pencil shading, as I am going to be doing it in colour instead.
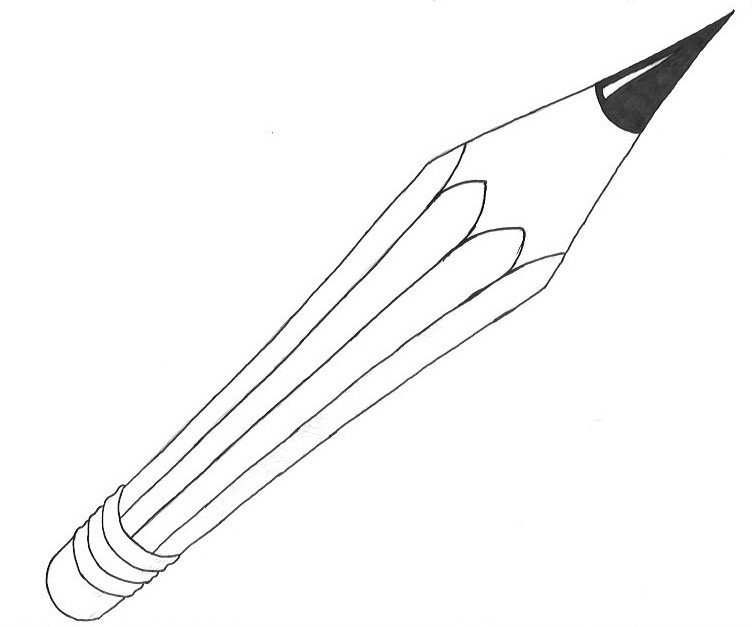
Step Eighteen:
Add your favourite colours. 🙂
I stuck with a fairly traditional colour scheme for this drawing: Four basic colours and some darker varieties for the shading. You, of course, can do anything you please!
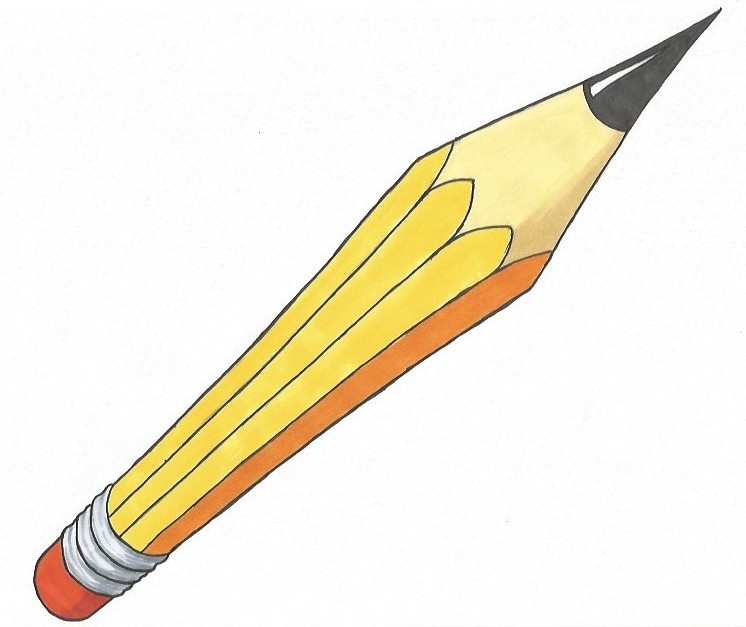
So there you have it! This is my version of a pencil in perspective, hopefully you found it fun, and a little more challenging than the last one.
As I hope you realized along the way, there is a lot to learn and practice from a simple drawing like this one. I always like to stress the point, that you should never shy away from drawing something simple. A lot of times it is much better, from a learning perspective, to come out with a cool result, a sense of success, and having learned something, than to bite of more you can chew and get frustrated, which might impair your desire to pick up the pencil next time…
As always, leave your comments below! What made sense? What didn’t make sense? I’d love to hear from you! 🙂
Until next time, keep practicing, stay awesome and remember that drawing is a skill – let’s learn it!
Best wishes,
Michael
Excellent tutorial. You explain the process beautifully, and it’s easy to follow along.
It’s important for beginners to feel a sense of success, and I think you give that to them. I’ll be checking out your other posts for more tips.
Well done!
Hi Tracy.
Thanks so much for the kind words. I’m so glad that you found the explanations easy to follow along with. And I could not agree more, with the fact that it’s important to get a sense of success in the beginning, to keep the motivation going. That’s why I post a lot of simple drawing tutorials. There’s so much to learn from them!
I also keep stressing the fact that EVERYBODY can learn to draw. It’s not a question of talent or not. It’s a teachable and learnable skill. ?
Thanks for the comment, and thanks for the visit!
Best wishes,
Michael
Drawing has always intimidated me. I really like how you broke each step down so it’s not only easy to understand and follow, but the “drawing terminology” you went over in the beginning really helped me follow along with the concepts too! Thank you very much!
Hi Randi.
Thanks so much for the kind words. If I was able to help a bit, and perhaps ease some of the intimidation around drawing, I would definitely call that a success! So thanks a lot for that.
I keep stressing the fact that EVERYBODY can learn to draw. It’s not a question of talent or not. It’s a teachable and learnable skill. 🙂
Thanks for the comment, and thanks for the visit!
Best wishes,
Michael
Having the process broken down into actionable steps like here makes it much easier to master every skill. I like your thoroughness and the number of steps you’ve included in the process of drawing a seemingly easy-to-draw object. Thanks a lot! I learn much from you.
Hey Ivan.
Thanks so much for the kind words. And I’m superhappy you found that you learned something from the post! 🙂
The number of steps is something that is always up for debate, cause in the internet world most people want a quick solution, along the lines of “draw this and this in five easy steps!”. However I try to make sure that my message, and the things that I try to teach come through clearly, and I often find that this requires more steps.
Thanks for the comment, and thanks for the visit!
Best wishes,
Michael