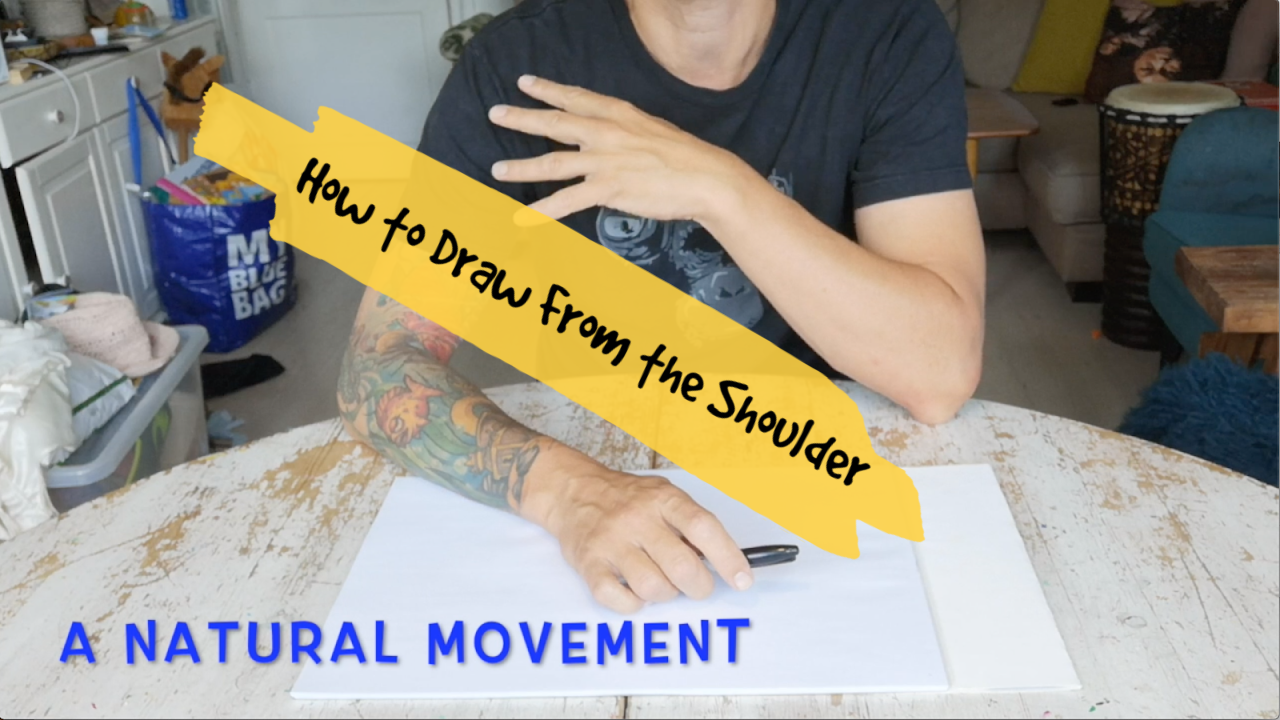
So… You’ve decided that you wanna learn how to draw, and you start looking into lessons, and other resources on how to go about that the best way. Chances are that very quickly you’ll encounter talk about “drawing from the shoulder”… But not a lot of talk about HOW to draw from the shoulder!
At least this is something that I ran into early on, when I started drawing. And afterwards I’ve found that when I talk to others about it, this seems to be an area with a lot of confusion.
Also, a while ago I put out a YouTube video with some exercises on how to PRACTICE drawing from the shoulder (you can find it in the bottom of this post), and again there was a comment expressing some frustration that nobody seemed to be showing HOW to draw from the shoulder.
So all in all I think it’s about high time, that I try to do my best to shed a little light on this seemingly confusing subject!
First of all… Why?

If you’re anything like me, you like to get an idea of why learning something is useful, before you start investing your precious time into how to actually learn it. So let me try to shed some light on that.
Pardon me, if some of this seems redundant, or as if I’m talking to a four-year-old. I don’t mean to insult your intelligence! It is just my experience, that explanations like these are very easily misunderstood, so I do my best to cover all the details, which might very well com off a little much… 😉
I think perhaps the easiest way to understand why drawing from the shoulder is such a good idea, is to look at the drawing motion starting from one end, and analyzing it part by part.
Basically you have 4 movable parts to work with: fingers, wrist, elbow and shoulder.
- So if you start from one end, and try to draw or write anything, using only your fingers, you will soon realize that your range of motion is quite limited, to say the least.
- If you then add on your wrist to the motion, you get a bit more movement. Still, very limited, though, and very two-dimensional. You can move quite a bit left/right, but still only a couple of centimeters up and down. Also, it is a curvy movement. Making a straight line is extremely difficult.
- Now factor in the elbow and you get a very similar thing going, but a lot bigger. A relatively large movement, very limited motion, and still a curvy line.
- Now finally you enter the shoulder, and everything changes! All of a sudden you’re free! You can go everywhere, in all directions up and down, back and forth, and in large movements. The entire canvas/paper/wall/what ever is now your playing ground!
This is why drawing from the shoulder is a good idea!
(I also explain and demonstrate this in the other embedded video, so definitely check that out!)
So How?!?
Now that we’ve covered why this is a good idea, let’s get to the how, already…
But let me start by making one thing clear:
Don’t Overcomplicate it!

I think the first thing to realize, is that you shouldn’t overcomplicate this! One of the consequences of all that confusion that I mentioned in the beginning, is that there seems to be an impression floating around that drawing from the shoulder is difficult… It’s not!
Getting good at it requires some practice, yes! But the actual movement is actually rather simple.
You’re still obviously drawing with your hand, including your fingers and your wrist. You’re also utilizing your elbow. You just originate the movement from the shoulder, and let it travel through your joints into your hand, and your drawing tool of choice. But let me explain it in as much detail, as I can.
My Own Approach
I think the easiest way for me to explain it, is if I break it down into a few steps, and ask you to follow along.
Now, this is where some of my explanations might come across as if I’m talking to a four-year-old… I apologize in advance! -Not trying to insult your intelligence, I am merely trying to make sure that I make myself as clear as possible! 😉
So… Grab a pencil or pen, and a piece of paper. And let me walk you through the basic movement:
- When you grab the pen, do it with a firm but relaxed grip (never grab your pen too hard when you’re drawing, as this can lead to issues with your tendons)
- Anchor your hand lightly on the paper, with the side of your palm, so that it supports your hand position. This makes it a lot easier to control your movement on paper. (Later on if you move on to drawing or painting vertically, such as a canvas on an easel, this is no longer possible, but for now it’s a great help.)
- Deliberately lock up your wrist, and keep it stiff during the movement. (The act of locking up the wrist sometimes lead to people subconsciously grabbing their pen very hard, so be aware of this, and keep your grip firm, but relaxed)
- Now simply try pushing your arm forward, only using the muscles of your shoulder. Keep the wrist stiff, and let the angle of your elbow adjust naturally to accommodate the movement, keeping your hand in the same angle on the paper.
- Now start playing around with it, and get familiar with the sensation of originating the movement from the shoulder. For now, don’t try to do anything other than just get a feel for the movement. You’re not trying to draw anything just yet, you’re just learning how to recognize the feeling of moving your arm around using the muscles of the shoulder.
 You can play around with this as much as you want. To some people this comes easy, to others it might take a little longer. Do what feels right for you, but as with anything else, taking your time practicing the basics, always pays in the end!
And yes… This, like so much else, is likened to the old saying “just like riding a bike” saying. Once you get it, you don’t really forget… 😉
First Lines
So, as you get acquainted with this, try to put a few lines on the paper. Do some long strokes in different directions. Start experimenting with some simple shapes, and just really focus on getting a feel for
- originating the movement from the shoulder,
- accommodating the angle of your arm with your elbow, and
- keeping your hand lightly anchored on the paper.
Depending on how new this is to you, you might start getting a little tight and sore in the muscles in and around your shoulder. Don’t worry, this is completely normal! Any new movement, involves unknown muscle activity, no matter how small or easy the movement might seem.
And that’s it!
Yes, that’s really the gist of it. Now all you need to do is practice. The movement in itself, is relatively simple, but to master it, will probably take some practice.
A final note.
I would recommend focusing on good posture as you’re sitting in front of your paper. Yes, just like your mom told you, sit up straight… This actually makes a big difference in the long run. In two ways: first of all, obviously your back will thank you! And also when you sit up straight with a good position in front of your desk and your paper, you will have much more freedom of movement, and getting familiar with this new movement pattern will be a lot easier!
So in Conclusion
Drawing from the shoulder is not difficult, but it might require some practice getting familiar with it. It should be a natural movement, even if it feels uncomfortable at first.
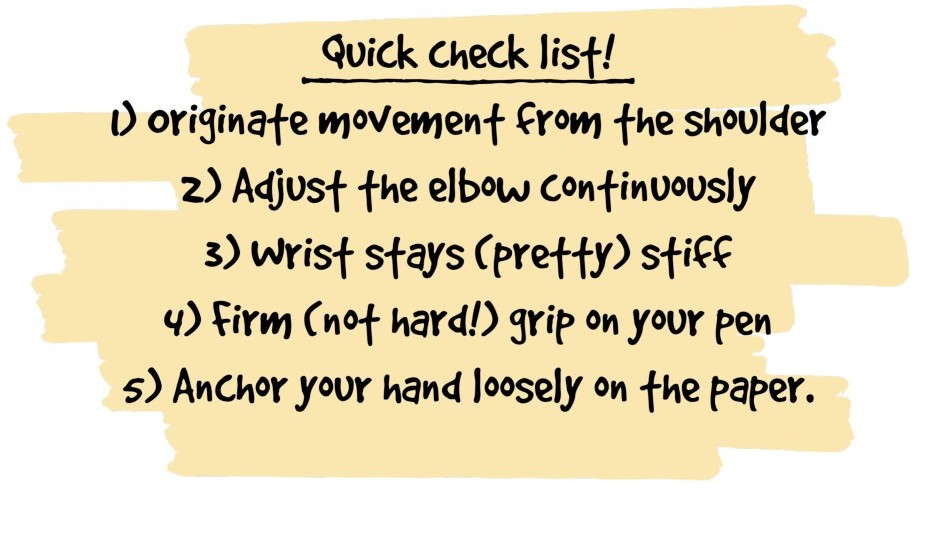
Here’s a quick checklist to summarize.

And just as a friendly reminder:
Make sure to take a look at the two video lessons below.
First one is a lot of the same information you’ll find in this lesson, but maybe it will make more sense to you, seeing me actually showing it.
And this second one is a video with some great exercises to practice all your newly acquired shoulder drawing skills.
So I hope all this makes sense to you, and that it helps.
Please don’t hesitate to ask any questions you might have in the comments section below. I love comments and questions, and I’ll make sure to answer them as quickly as I can.
So until next time:
Remember that drawing is a skill – let’s learn it!
Best wishes,
Michael

I watched both videos and they are very helpful indeed! Thank you so much for opening my eyes to the importance of drawing from the shoulder.
There are many techniques that we can incorporate to improve our drawing skills. I think this one is crucial!
I never thought that this was actually a technique, but remember using my shoulders when I used to draw a long time ago. So, intuitively, I knew it was helpful.
Thanks for sharing!
Hi Stefan.
Thanks for your kind words.
Yes, I agree, there are indeed many techniques to incorporate into improving our drawing skills. I was in the exact same place as you, not realising this was a technique to be learned. But I kept running into questions about how to do it. So I finally decided to do a post on it.
As I mention, this is my take on it. I’m sure others have other ways of approaching it, but this works for me, and for the people I’ve shown it to.
Glad you found it useful!
Thanks for the visit, and thanks for the comment.
Best wishes,
Michael
This article is a life savior. Thank you for explaining it like you were talking to a four-year-old. God knows that is the way I need things broken down. And having me do it along with you really concreted the information. You should teach for a living.
My wrist has been hurting a lot when I draw, and someone asked if I had been drawing from the shoulder. I had no idea what they were talking about. I tried to research it, but my brain could not grasp the concept. Now, I got it.
And you are right; there is a little stiffness in the shoulder in the beginning. I am sure it will relieve the more I practice.
Keep up the good work! I am so bookmarking your site.
Hi Dovey.
Thanks so much for the kind words!And I’m happy that the simple explanations made sense, and it didn’t come across as talking down to you! 😉
And even more importantly, I’m so glad that you grasp the concept now. It’s one of those things that is so deceptively difficult at first, and once you get it, it’s super simple. Simple but not necessarily easy, though.
And yes, like I mentioned, you will be using some muscles in a new way initially, and that might bring about some soreness. As you get used to the new movement patterns, this will subside.
Thanks for visiting, thanks for the comment, and thanks for the bookmark! 😉
Best wishes,
Michael
Hi Michael, Well that just shone a light on my not so great drawing skills. I followed your lesson easily and enjoyed it. Thank you. It was pitched at an easy to follow level that was in no way insulting or over simplified.
Hi Steve.
Awesome! Happy you liked it, and got something out of it.
It’s always a little uncertain to me, how much detail I should provide in my explanations. But in matters like these, it just seems to me, that it’s better to perhaps over-explain a bit, than for people to misunderstand me… 😉
As far as your drawing skills go… Well that can be improved!
That’s one of the basic premises of my site. That drawing is a teachable and learnable skill. Go look around in the menu. You’ll find lots of tutorials and basic lessons. And if anything seems unclear, or you have questions or comments, I’m always happy to help!
Thanks for the visit, and thanks for the comment!
Best wishes,
Michael
Very nicely done, I applaud you on a fantastic job on your website. I hope to be to that point with all the training at WA. Keep up the great work!
Hi Dwight and Sheryl.
Thanks so much for the kind words. 🙂
I guess it’s a question of constantly just plugging away at it. There’s always something to improve! (And I’m never REALLY satisfied! 😉 ) And yes, the WA training does provide excellent guidance!
Good luck, thanks for the visit, and thanks for the comment!
Best wishes,
Michael
Excellent tips on how to draw with your shoulder. I have never been the best at drawing, but after reading your post I have learned there is much more to it than I ever knew. Thanks for sharing.
Hi Shyla.
Thanks so much. Glad it made sense to you.
And yes, in drawing, like so many other areas in life, there is a lot more to it than most people imagine. 😉 The good news is, that it’s all something that can be learned!
One of the basic premises for my site, is that drawing is a teachable and learnable skill. With some practice anybody can learn to draw very well! If you look around, you’ll find lots of tips, lessons and tutorials.
Thanks for the visit, and thanks for the comment!
Best wishes,
Michael
Hey Michael,
Great article, my brother is dyslexic and as a result is very much in to his art. He’s now doing A levels art at college, I’ve been helping him to find resources that can assist with his technique.
Your site seems ideal and the fact that you have a video demonstrating is even better! Is it possible to potentially request article subjects at some point?
Hi Nate.
Sorry for being a little slow in the response time here… I’ve been caught up in some family stuff, that took all my attention!
First of all, I’m so happy to hear that your brother has found art! It’s such a great outlet, and for somebody who’s challenged by dyslexia, it’s so valuable to find another way of expressing himself. I believe it was Einstein who said: “Everyone is a genius, but if you judge a fish by its ability to climb a tree, it will live its whole life believing it is stupid”
If my site can be any help, that would be amazing to me. And yes. I’ll be happy to talk about requests! I can’t guarantee that I’ll be able to fulfill them, but I’ll absolutely be happy to give it a try.
Thanks so much for the visit, and thanks for the comment!
Best wishes,
Michael
I’ve read several places that the grip on the pencil matters as well. What is your opinion?
Hello Christina.
First of, I have to apologise for being SO SLOW in responding! I have actually been away from the site for a while, cause well… Life happened, you know? 😉
But thanks for your question. And yes, I absolutely agree that the grip matters a great deal. The most important thing is to not grip you pencil too tightly. This is most important in the beginning, when you’re drawing the bigger lines, the loose sketches etc. As you go further and further into the smaller details, the grip usually becomes a little more firm to enable more control of the small lines, but you never wanna grip your pencil (or other tool af choice, for that matter) REALLY tightly. That will lead to “stiff” lines (as opposed to loose, flowing, organic, lively), and can also cause physical issues, like carpal tunnel syndrome, and other uncomfortable things…
So try to have just enough grip to enable the amount of control the present line demands… Does that make sense? 😉
I hope all that makes sense to you, if not please let me know, and I’ll be happy to clarify. And I WILL be a lot faster in replying going forward… I promise!
Best wishes, and thank you for the comment.